- Published on
- • 2 min read
Travis CI integration - Step by step tutorial
- Authors

- Name
- Shaiju Edakulangara
- @eshaiju
Travis CI is an open-source, free, and hosted continuous integration service that builds and runs unit tests for you on every commit to a GitHub repository. It supports many languages and allows you to configure steps using a simple .travis.yml file in the root of your repo.
Features
- Watch tests as they run
- Clean VM for every build
- Parallel test execution
- Slack, Email, and HipChat notifications
- Linux and Mac support
Getting Started
- Sign into Travis CI with your GitHub account.
- Synchronize your repositories and enable builds for your repository.
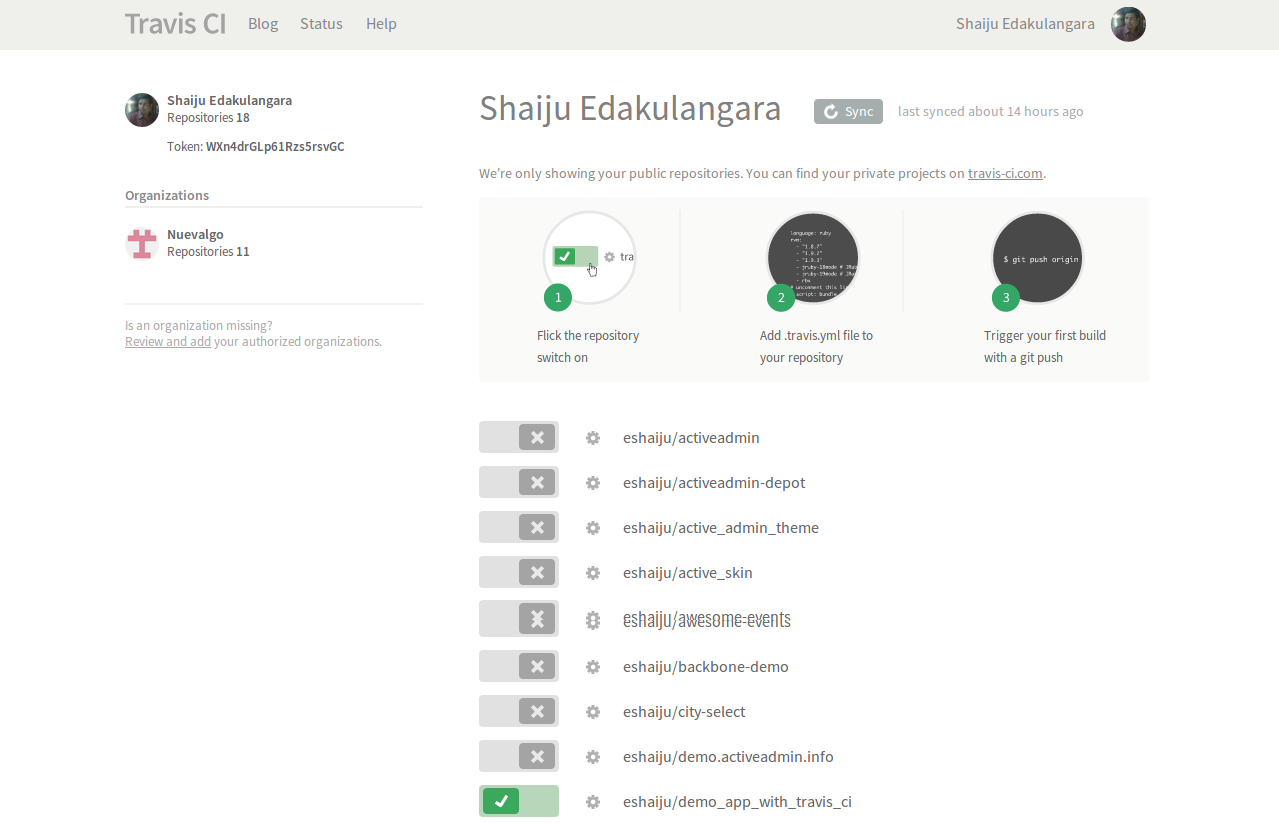
- Add a
.travis.ymlfile to your project’s root folder.
Example .travis.yml for a Ruby project:
language: ruby
rvm:
  - '2.2.0'
env:
  - DB=mysql
script:
  - RAILS_ENV=test bundle exec rake db:migrate --trace
  - bundle exec rake db:test:prepare
  - bundle exec rspec spec/
before_script:
  - mysql -e 'create database myapp_test'
bundler_args: --binstubs=./bundler_stubs
Database Configuration
MySQL on Travis CI binds to 127.0.0.1. You can connect using the username travis or root with a blank password.
Example config/database.yml:
test:
  adapter: mysql2
  database: myapp_test
  username: travis
  encoding: utf8
- Commit and push to GitHub. Travis will automatically trigger a build.
- Check your build status on the Travis dashboard.
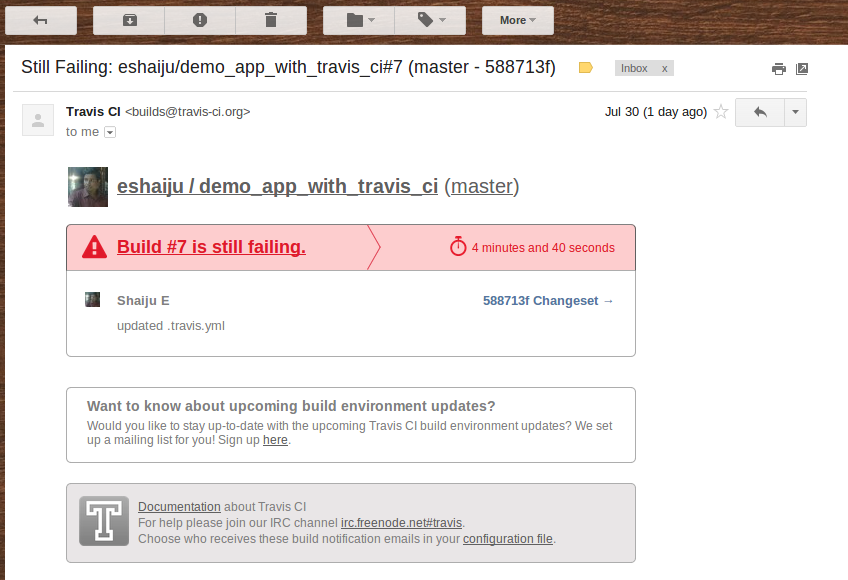
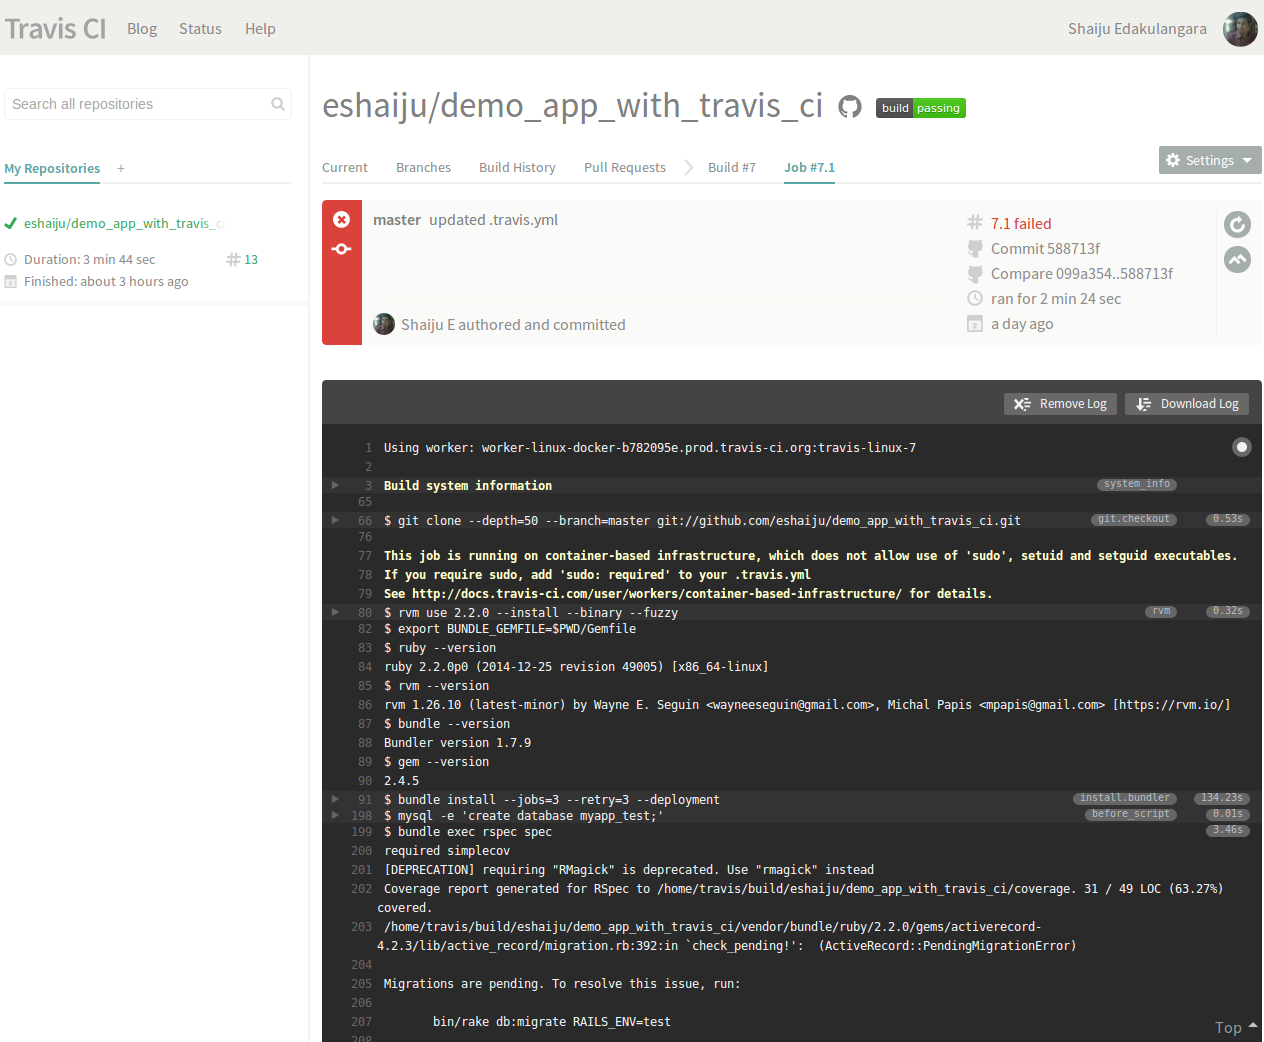
Check out an example build here.